How to Install the Filter App on Windows
In this guide we will go through how to install the internet filter on your Windows computer. Here are a list of minimum requirements you will need to install the app.
- Windows 7 or newer computer.
- 1GB or more of RAM.
- Java 7 or newer.
Installation Steps:
- Log into your computer with an administrator account.
- Download the latest version from our website. Click here to download.
- Once the download is compleate run the downloaded setup-vX.XX.exe file.
- You may get a warning saying Windows has prevented an unrecognised app from starting. Click the 'More info' text and then Click the 'Run anyway' button.
- Now the installer should be open. Click the 'Install' button.
- Once the install is compleat click the 'Finish' button.
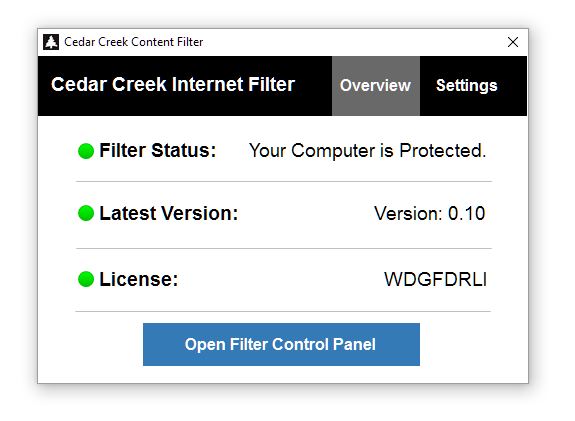
- The filter status window will open.
Setup Steps:
To attach the filter to your account and category policy you need to enter your license token the Filter App Settings.
- Click the 'Open Filter Control Panel' button.
- Your browser will open to the filter control panel. Login with you admin username and password.
- Open the 'User' page from the top menu.
- Find the user you would like to assign to this computer and click the 'Edit' button to the right of their name.
- The user details page will open. Copy or write down the license token.
- Close or minimise your browser. The Filter app should still be open. On it click the settings tab and enter your license token. Click the 'Save' button.
- You filter is now activated. You may need to reboot your computer before the policy you created in your filter control panel take affect.
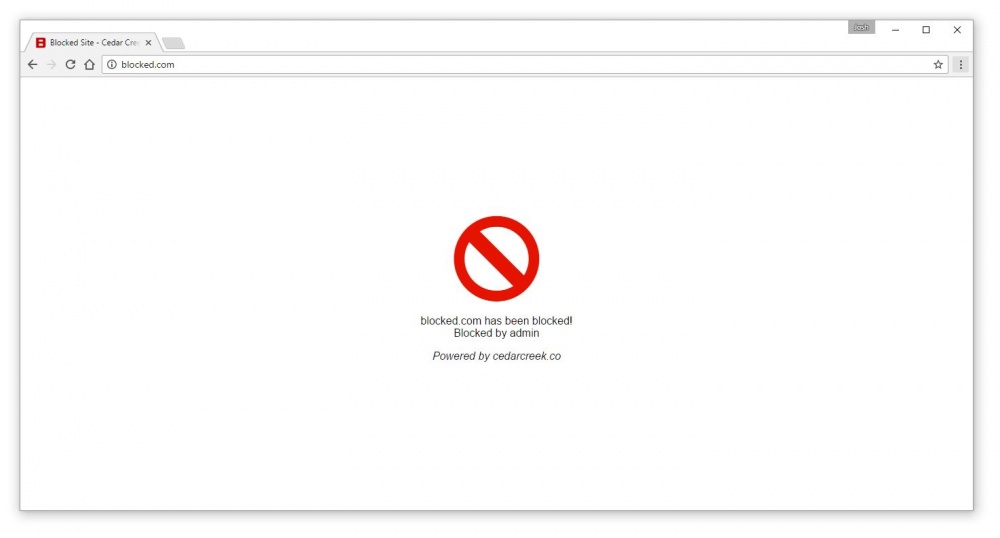
Check if the filter is working:
To check if the filter is working open your browser and enter test.blocked.com. You should get a red warning telling you the page is blocked. If not contact us and we can give you a hand to make sure everything is working correctly.